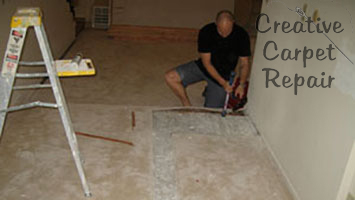
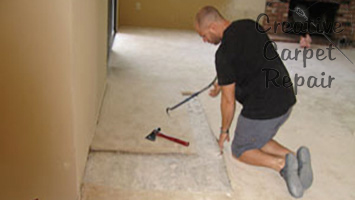
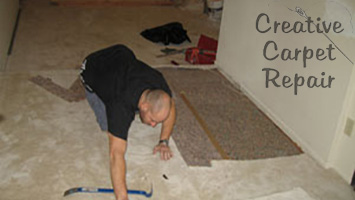
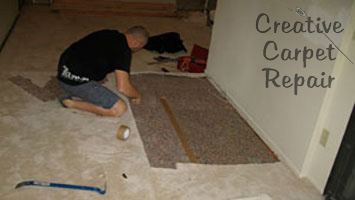
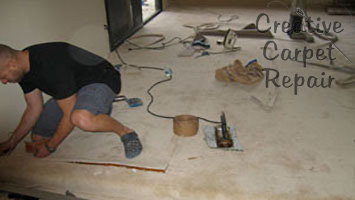
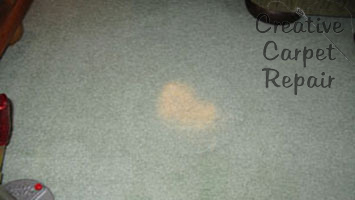
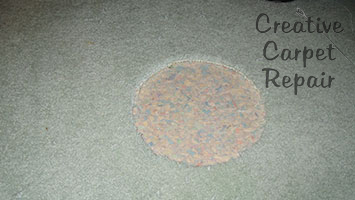
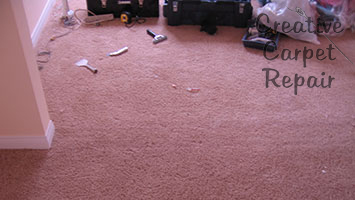
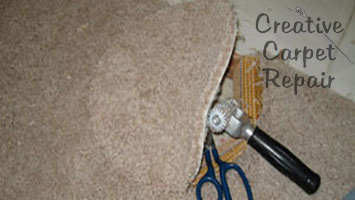
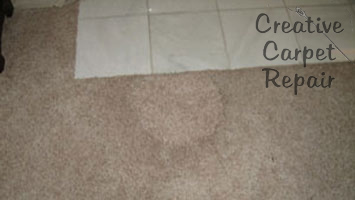
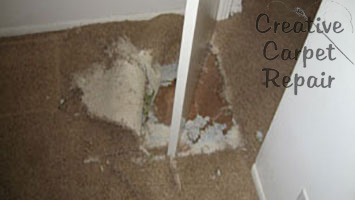
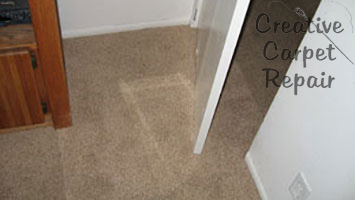
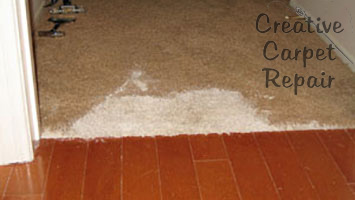
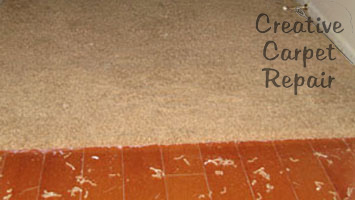
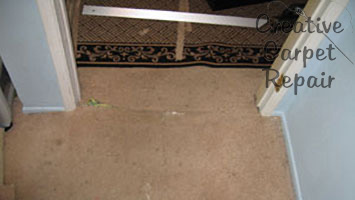
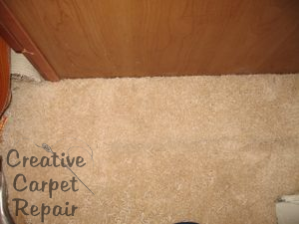
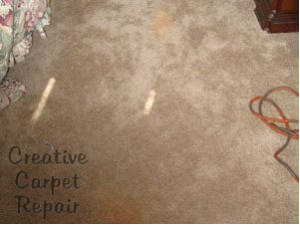
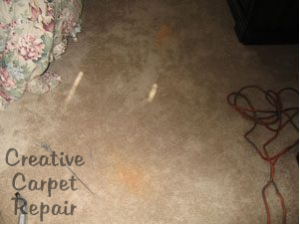
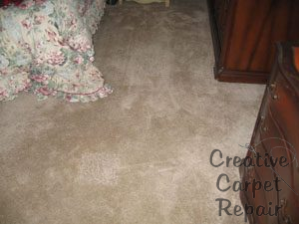
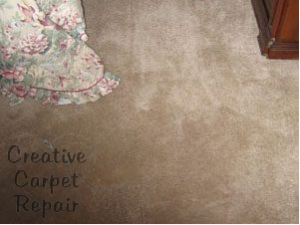
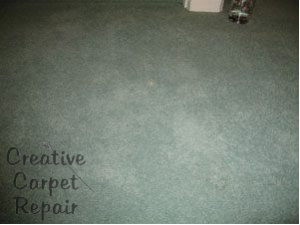
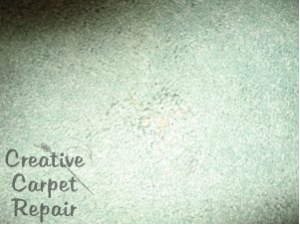
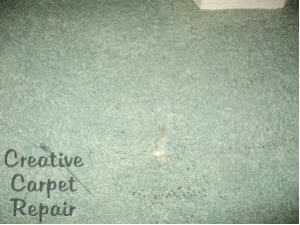
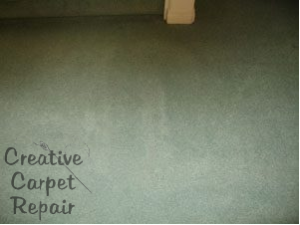
Carpet patching can be an art as well as a science. At Creative Carpet Repair it’s the most common carpet repair that customers call us for.
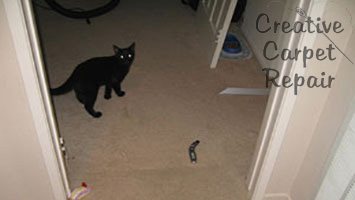
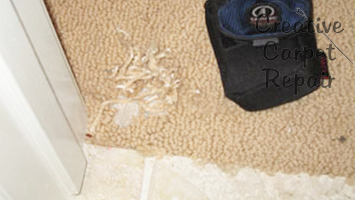
The number one reason people call us to patch their carpet is because their dog or cat got locked into a room and tried to dig their way out. (Bad Kitty! What have you done?)
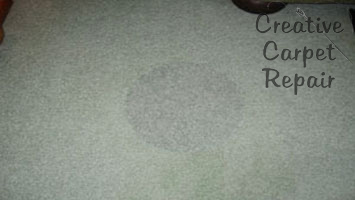
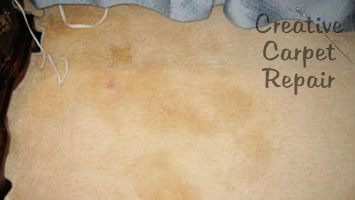
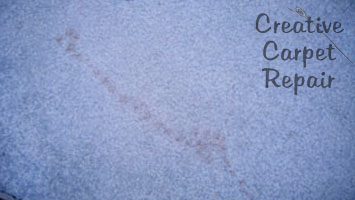
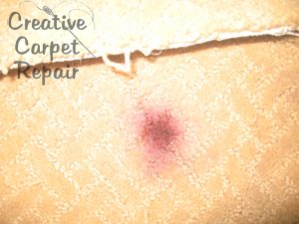
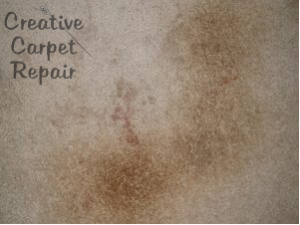
People also call us to patch their carpet because of, carpet stains, carpet tears, carpet burns (not the good kind), and remodeling as well as worn traffic paths.
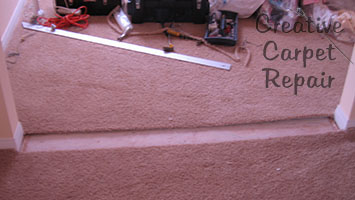
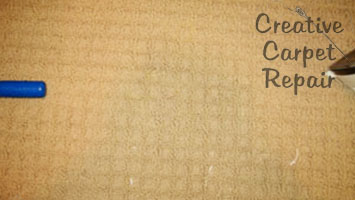
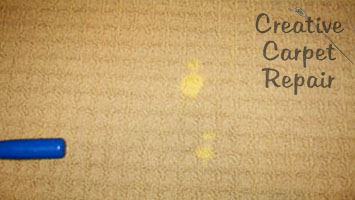
To patch a carpet we replace the damaged area with a new piece of carpet. When a skilled person patches a carpet it’s normally but not always completely invisible.
If you’ve had your carpet patched and it doesn’t look as good as you were hoping it would look, it may be because:
- The new carpet is has a slightly different color than the original carpet due to fading.
- Your new carpet patch has a different wear pattern than the rest of the carpet.
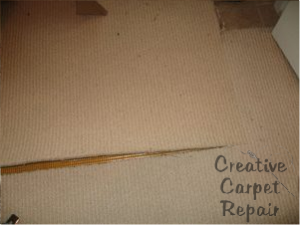
- There’s a gap between the seams of the carpet patch.
- There may be an overlap at the seams of the carpet patch.
- Some of the carpet nap may have been cut off.
- Some of the carpet nap may have been glued down into the seam.
- The new carpet patch is running the wrong direction. (doh!)
Understanding the layers of a carpet:
The top layer is called the carpet nap or the carpet pile. Carpet pile needs to be considered when doing any kind of carpet repair. The shorter the nap, the more likely it is that you will see the seams.
The next layer below the carpet nap is the backing. Most carpet comes with two layers of backing.
The nap and layers of backing are normally all held together with a very strong adhesive.
Under the carpet backing is your carpet pad.
Some carpet repairs can be localized to just the top layer. Sometimes in the case of a minor carpet burn we will just remove the top layer of carpet while leaving the backing in place.
Finding a proper piece of carpet to do the patch with:
Most of the time there are some scraps left over from the original installation. These leftover scraps are the best place to start looking for a suitable patch. Always save the scraps when you have new carpet installed
.
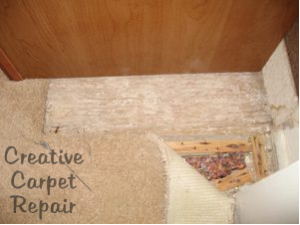
The next best place to find a suitable piece of carpet to do your carpet patch is in a closet. Often we will remove a piece of carpet from a closet to do the patch with and replace the closet carpet with something that the customer found at a carpet store.
Sometimes we don’t put anything back into the closet and just leave a bare spot. It’s not pretty but at least it’s in the closet where nobody will see it. (and it will probably be covered with shoe boxes anyhow.)
Very often the customer thinks that they can find an exact match at the carpet store. The chances of finding a match are not good. Even if you do find something that is supposed to be the same exact carpet, it’s likely that the dye lot will have changed ever so slightly.
If the stairway or hallway carpet has worn out but all the other carpet in the house still looks good, you may want to pull the carpet out of one bedroom to use to replace the worn out areas.
By using this strategy you can save a lot of money because now you only need to buy new carpet for one room. The carpet in the hallway or the carpet on the stairs will still match the carpet in the living room.
How to patch carpet: An oversimplified step – by – step tutorial… By the way, don’t do this if you want it to look great.
If you want your carpet patch to look really great, call me to do it for you at [insert_php] echo get_phone_number(); [/insert_php]
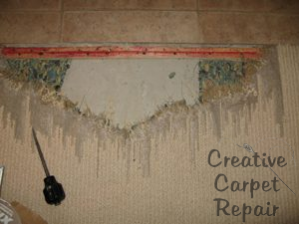
Start by taking out the bad carpet. You can use a straight edge, a row finder and a slotted blade knife. Some people use an ice pick or a Phillips screwdriver instead of the row finder. Put the straight edge on the carpet with the groove side laying face down.
When you use the row finder to separate the nap, be gentle. Gingerly drag the tip of the row finder against the side of the straight edge so that you can cut the backing without cutting the nap. Remember this, any nap you cut will be a place that you can see the seam.
Always use a brand new blade. The biggest mistake people make is to try to save a nickel by using a blade too long. I will often change the blade a couple of time when cutting one patch. If you are feeling any resistance, change the darn blade!
Have your new piece of carpet in front of you. Position your body directly on top of the area you will be cutting.
Discover which way the nap is running by brushing the carpet with your hand in all the different directions. I can’t understate the importance of getting the carpet patch to run the same direction as the rest of the carpet. Some carpet is easy to figure out because it will lay flat as you brush your hand across it in one direction and stand up as you brush your hand in the opposite direction. Just keep at it until you figure it out and don’t move on to the next step until you’re sure you have it right.
You’ll want to cut the patch to perfection from the backing. Turn the carpet patch upside down and use the slotted blade knife against the side of the straight edge to cut the patch just right. If you haven’t done this before then most likely you won’t be able to cut the carpet patch to fix exactly right. This is the step that you really need to weigh the cost of hiring a professional carpet installer. If you do it yourself then you may not be as satisfied with the results.
After you’ve cut the patch of carpet and you are satisfied that it’s going to fit just perfectly and the carpet nap is running the proper direction you’ll want to seal the edges. We use latex to seal the edges of the carpet and the carpet patch but it’s perfectly acceptable to use the glue gun. Just be careful to use a very thin layer so that it doesn’t ruin the nice clean edge that you just cut.
Finally you’re ready to attach the carpet patch. You can use either a carpet seam iron or a glue gun. There’s a new seam iron available called the Kool Glide as well.
If you’re a beginner you’d be best off using the glue gun. Take your time! Plug it in now so that it’s nice and hot when you’re ready to use it.
Measure the seam tape so that it is a bit longer than every seam of the patch. Place the seam tape lengthwise, half under the patch and half under the surrounding carpet. Put the patch where it belongs with the carpet seam tape under the seam.
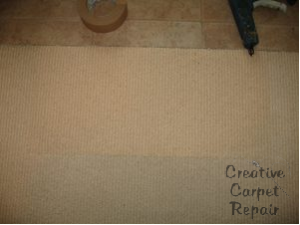
Slowly begin to glue the two sides of the seams to the seam tape and to each other. Use a generous amount of glue but not so much that it oozes up through the carpet. (Suggestion. Keep a glass of water beside you at all times in case you get hot glue on your fingers. If you do, quickly dip your fingers into the water.
Remember that you are gluing the backing down to the seam tape. Keep the nap out of the way. If you’ve never done this before then it’s a good idea to have someone help you. Four hands are better than two.
While you are gluing the carpet to the seam tape, press the carpet into the hot glue so that the glue seeps into the backing. Professionals use a carpet tractor for this but you can probably get away without it.
As you finish a few inches at a time, place a flat heavy object on top of the seam. Professionals often use the tray of their toolbox. You can use something heavy like a cinder block.
Wait a few minutes before you walk on it or get it wet.


