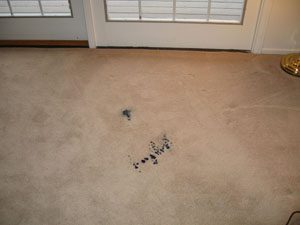
When I arrived at this carpet repair job, the customers were a couple of seasoned citizens. The wife took great delight in showing me where her husband spilled ink all over the carpet.
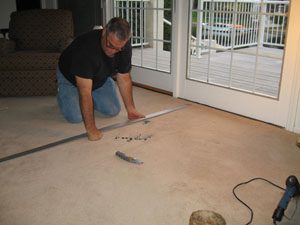
I explained to them that because the carpet was right in front of the window, that it may have faded a little bit and because of that, the patch of carpet that they wanted me to use to do the carpet patch with would be a slightly different color.
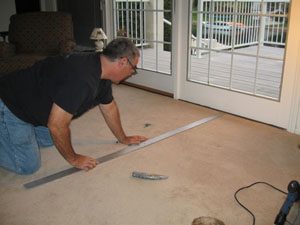
The both felt that it would be better to have a patch that they could see a little bit than to have ugly ink stains on their carpet.
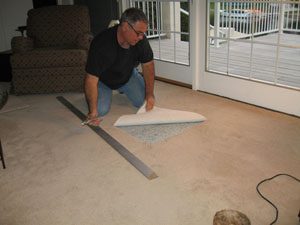
The first thing I did was to use my straight edge and utility knife to cut the first two sides.

Then the phone rang and I set up an appointment with someone who just happened to be in the same neighborhood.
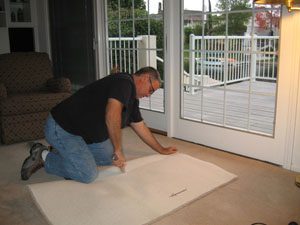
Using my straight edge, I began to cut the carpet from the back.
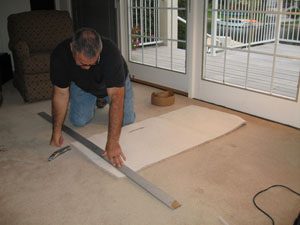
Little by little I cut it down to size.
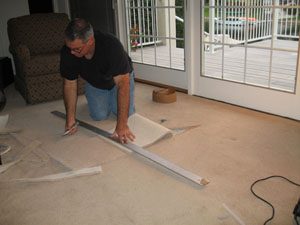
It’s important that the new piece of carpet is cut perfectly for the new carpet patch to look good.
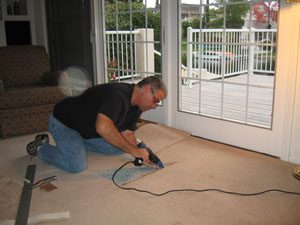
Using my Pam Glue Gun, I glued in the first side.
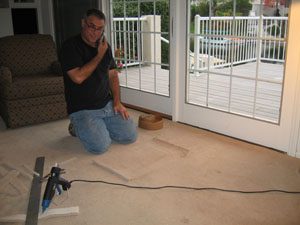
Then the phone rang again.
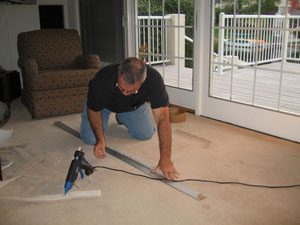
After the first side cooled down for a couple of minutes, I used my straight edge to cut the second side.
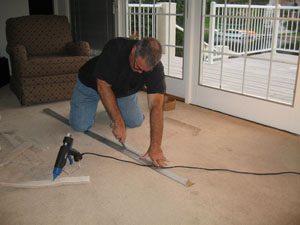
I pay special attention to not cutting through any nap unless there’s just no way around it. I do this by finding a row first with the back of the knife.
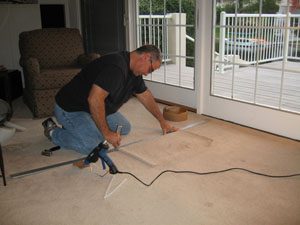
Continuing to set up the seams.
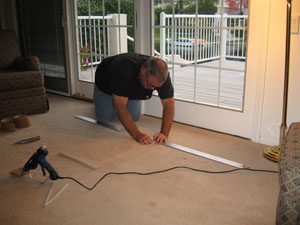
The backing of the carpet needs to meet up exactly. No gaps, no overlaps, no problem.
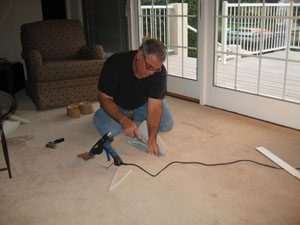
Some final trimming and then I’ll be ready to glue it all into place using my Pam Glue Gun and seam tape.
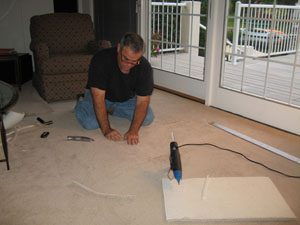
I always leave the glue gun on top of something that won’t be ruined if it happens to drip.
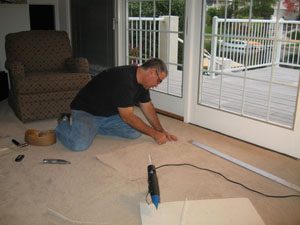
Continuing to trim around the edges.
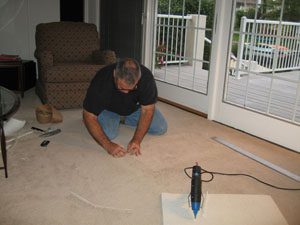
There’s more than one way to cut a patch to fit, this is my way.
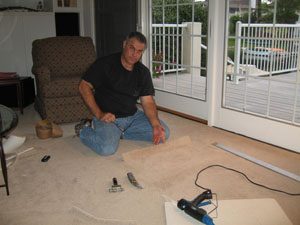
The first three sides have been attached and there’s just one side to go.
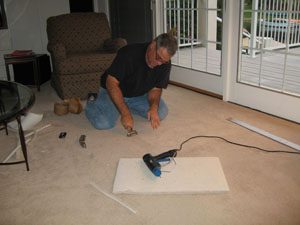
Here I am using my carpet tractor to push the glue into the back of the carpet.
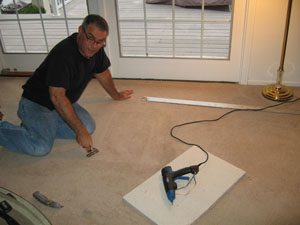
This carpet patch came out beautiful. The customers were so happy. By the way, thank you to the owners for taking these photos!


